Tuesday, 17 January 2012
Pruning - January 2012
I started pruning in early January. This year's new plantings will be cut back to just two buds and the first year's plantings will be trained to the fruiting wires where possible. Any "failed" vines will be removed and burned along with the prunings in our new mobile prunings burner. This reduces incidence of disease (and keeps me warm! now where are those sausages..?)

Drainage

Sunday, 3 July 2011
Laying mulch fabric and installing canes & rabbit guards

Using a borrowed mulch-laying machine we laid mulch over the recently planted vines. The machine ploughs two furrows, lays the edges of the fabric in these furrows and then folds the soil back over the edges. Simple!

Laying mulch fabric (lumpy soil here!)

Then I cut slits in the fabric to let the vines through (only 3000 of them!), buried the ends of the rows and the joins in the fabric, and started installing the plastic rabbit guards and supporting bamboo canes.
Tuesday, 7 June 2011
Planting in 2011
We started planting another 3300 vines in May - top-ups of Regent, Rondo, Phoenix, Seyval Blanc and Bacchus, plus 1600 Madeleine Angevine (white).
 The first attempts were with a post hole borer, however this was not successful - time-consuming, arm-aching, and it struggled with the heavy clay we have here. So I resorted to a mini-digger with power auger - much quicker and easier.


There were a few vines which did not grow from last year and these are being replaced by hand. This year's vine order allowed for a few "spares" for replacements and for adorning the shop when it is built.
Budrubbing & Shoot Removal
All pruning finished and the vines started shooting with new buds in March. Only two buds per vine were allowed to grow and then the strongest was selected and any others removed.

On some vines it was possible to remove the surplus buds/shoots with the New Zealand bud brush, but not easy with the rabbit guards on, so I had to resort to my hand in good glove! A little backbreaking too.

 On the vines that had been pruned to the fruiting wires, I removed all but the two highest shoots (at the wire). As these grow they will be loosely taped to the fruiting wires and will provide the buds/shoots in 2012.
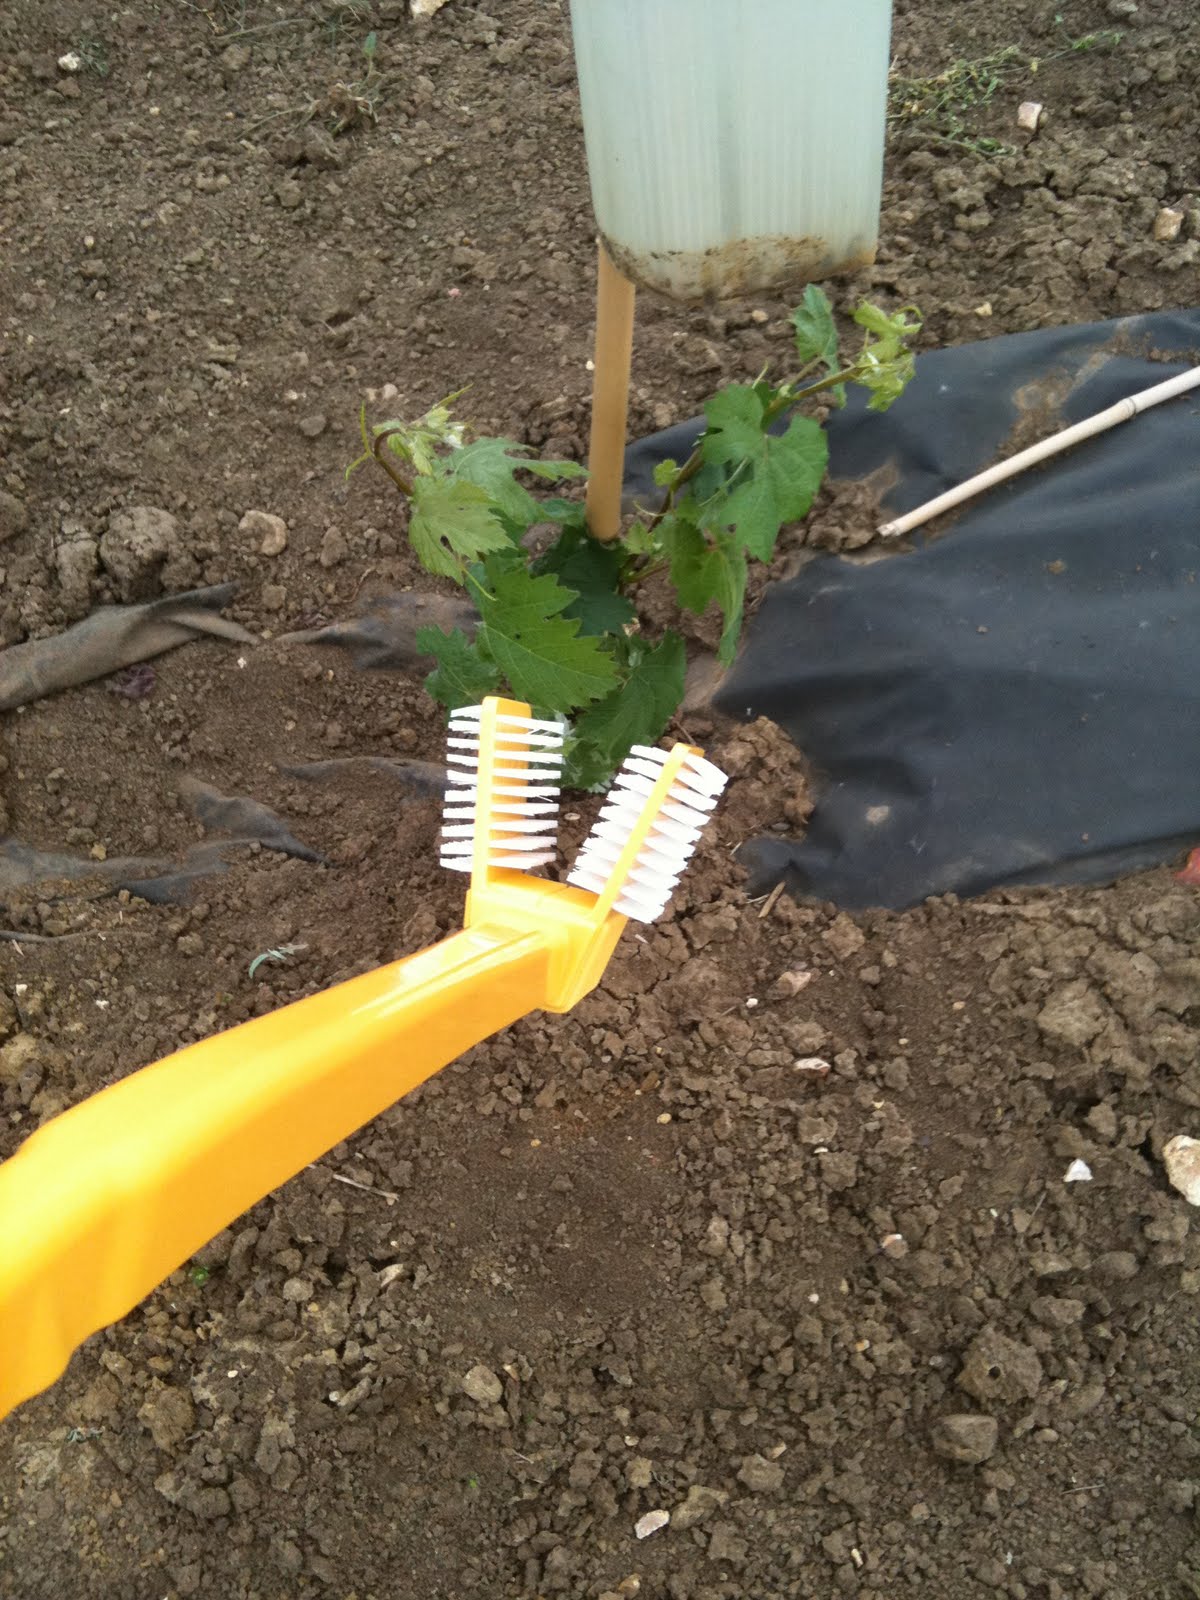
On some vines it was possible to remove the surplus buds/shoots with the New Zealand bud brush, but not easy with the rabbit guards on, so I had to resort to my hand in good glove! A little backbreaking too.


Tuesday, 4 January 2011
Pruning and Snow!
Started pruning the vines in December 2010. If the vine has not reached the fruiting wire I prune the vine back down to just two buds. This may seem drastic but the vine has established its root system in the first year. Those that have grown beyond the fruiting wire I cut back to the fruiting wire - if these have no green showing in the stem (which should be pencil thickness) then I cut back to just two buds as before. Most vines are being cut back this far. Then it snowed...


 The photos were taken on Boxing Day.


Subscribe to:
Posts (Atom)